Twinkling Stars for Christmas Crib
December 19, 2020 Leave a comment
Hello folks, it’s been a while since I last posted. That would be an understatement given that the previous post is from 2012!
What have I been up to since then? Back in 2012, the company I worked for shut down its office in India. I then dropped two years to prepare for my master’s degree. In India we need to write an entrance exam called GATE to get into a master’s program for engineering. I didn’t do well on my first attempt in 2013 so I had to drop a second year. In 2014 I got into IIT Bombay to pursue a three year program in Microelectronics. While there, I helped run their Signals and Systems MOOC on edX, worked as the system administrator for the VLSI lab and worked on wireless RF receivers for my thesis. After my masters I got a job at Qualcomm where I currently work as an analog IC designer for the SerDes team in Bangalore. I’ve been at Qualcomm since 2017. After that I got married to Johanna in December 2018 🙂

So that’s a short summary of what I’ve been up to. The projects on this blog showcased my work on circuits – something I’m passionate about. At my work, I get to do this every day so I don’t miss working on this too much.
Having said that, it does feel good to take a break from building circuits on an EDA tool and instead work on circuits built with components that I can see and touch. The last time I did this was at the embedded systems course at IIT Bombay and before that it was probably in 2013. So here’s what it looks like:

What you see is a set of 16 LEDs rigged up to act as twinkling stars for our Christmas crib (17 if you count the big star above the angel). Here’s a video of just a few stars. Focus on one of them to see the twinkling effect. It is subtle and that’s because my intention was to mimic the way stars appear to twinkle when we look at them at night, not create my own version of the blinking lights you get for Christmas decorations. Additionally each LED behaves randomly. If you look at the code (link is below), the brightness range and the rate of blinking is selected to be random.
My original plan was to use an Arduino along with a demultiplexer, the 74154:

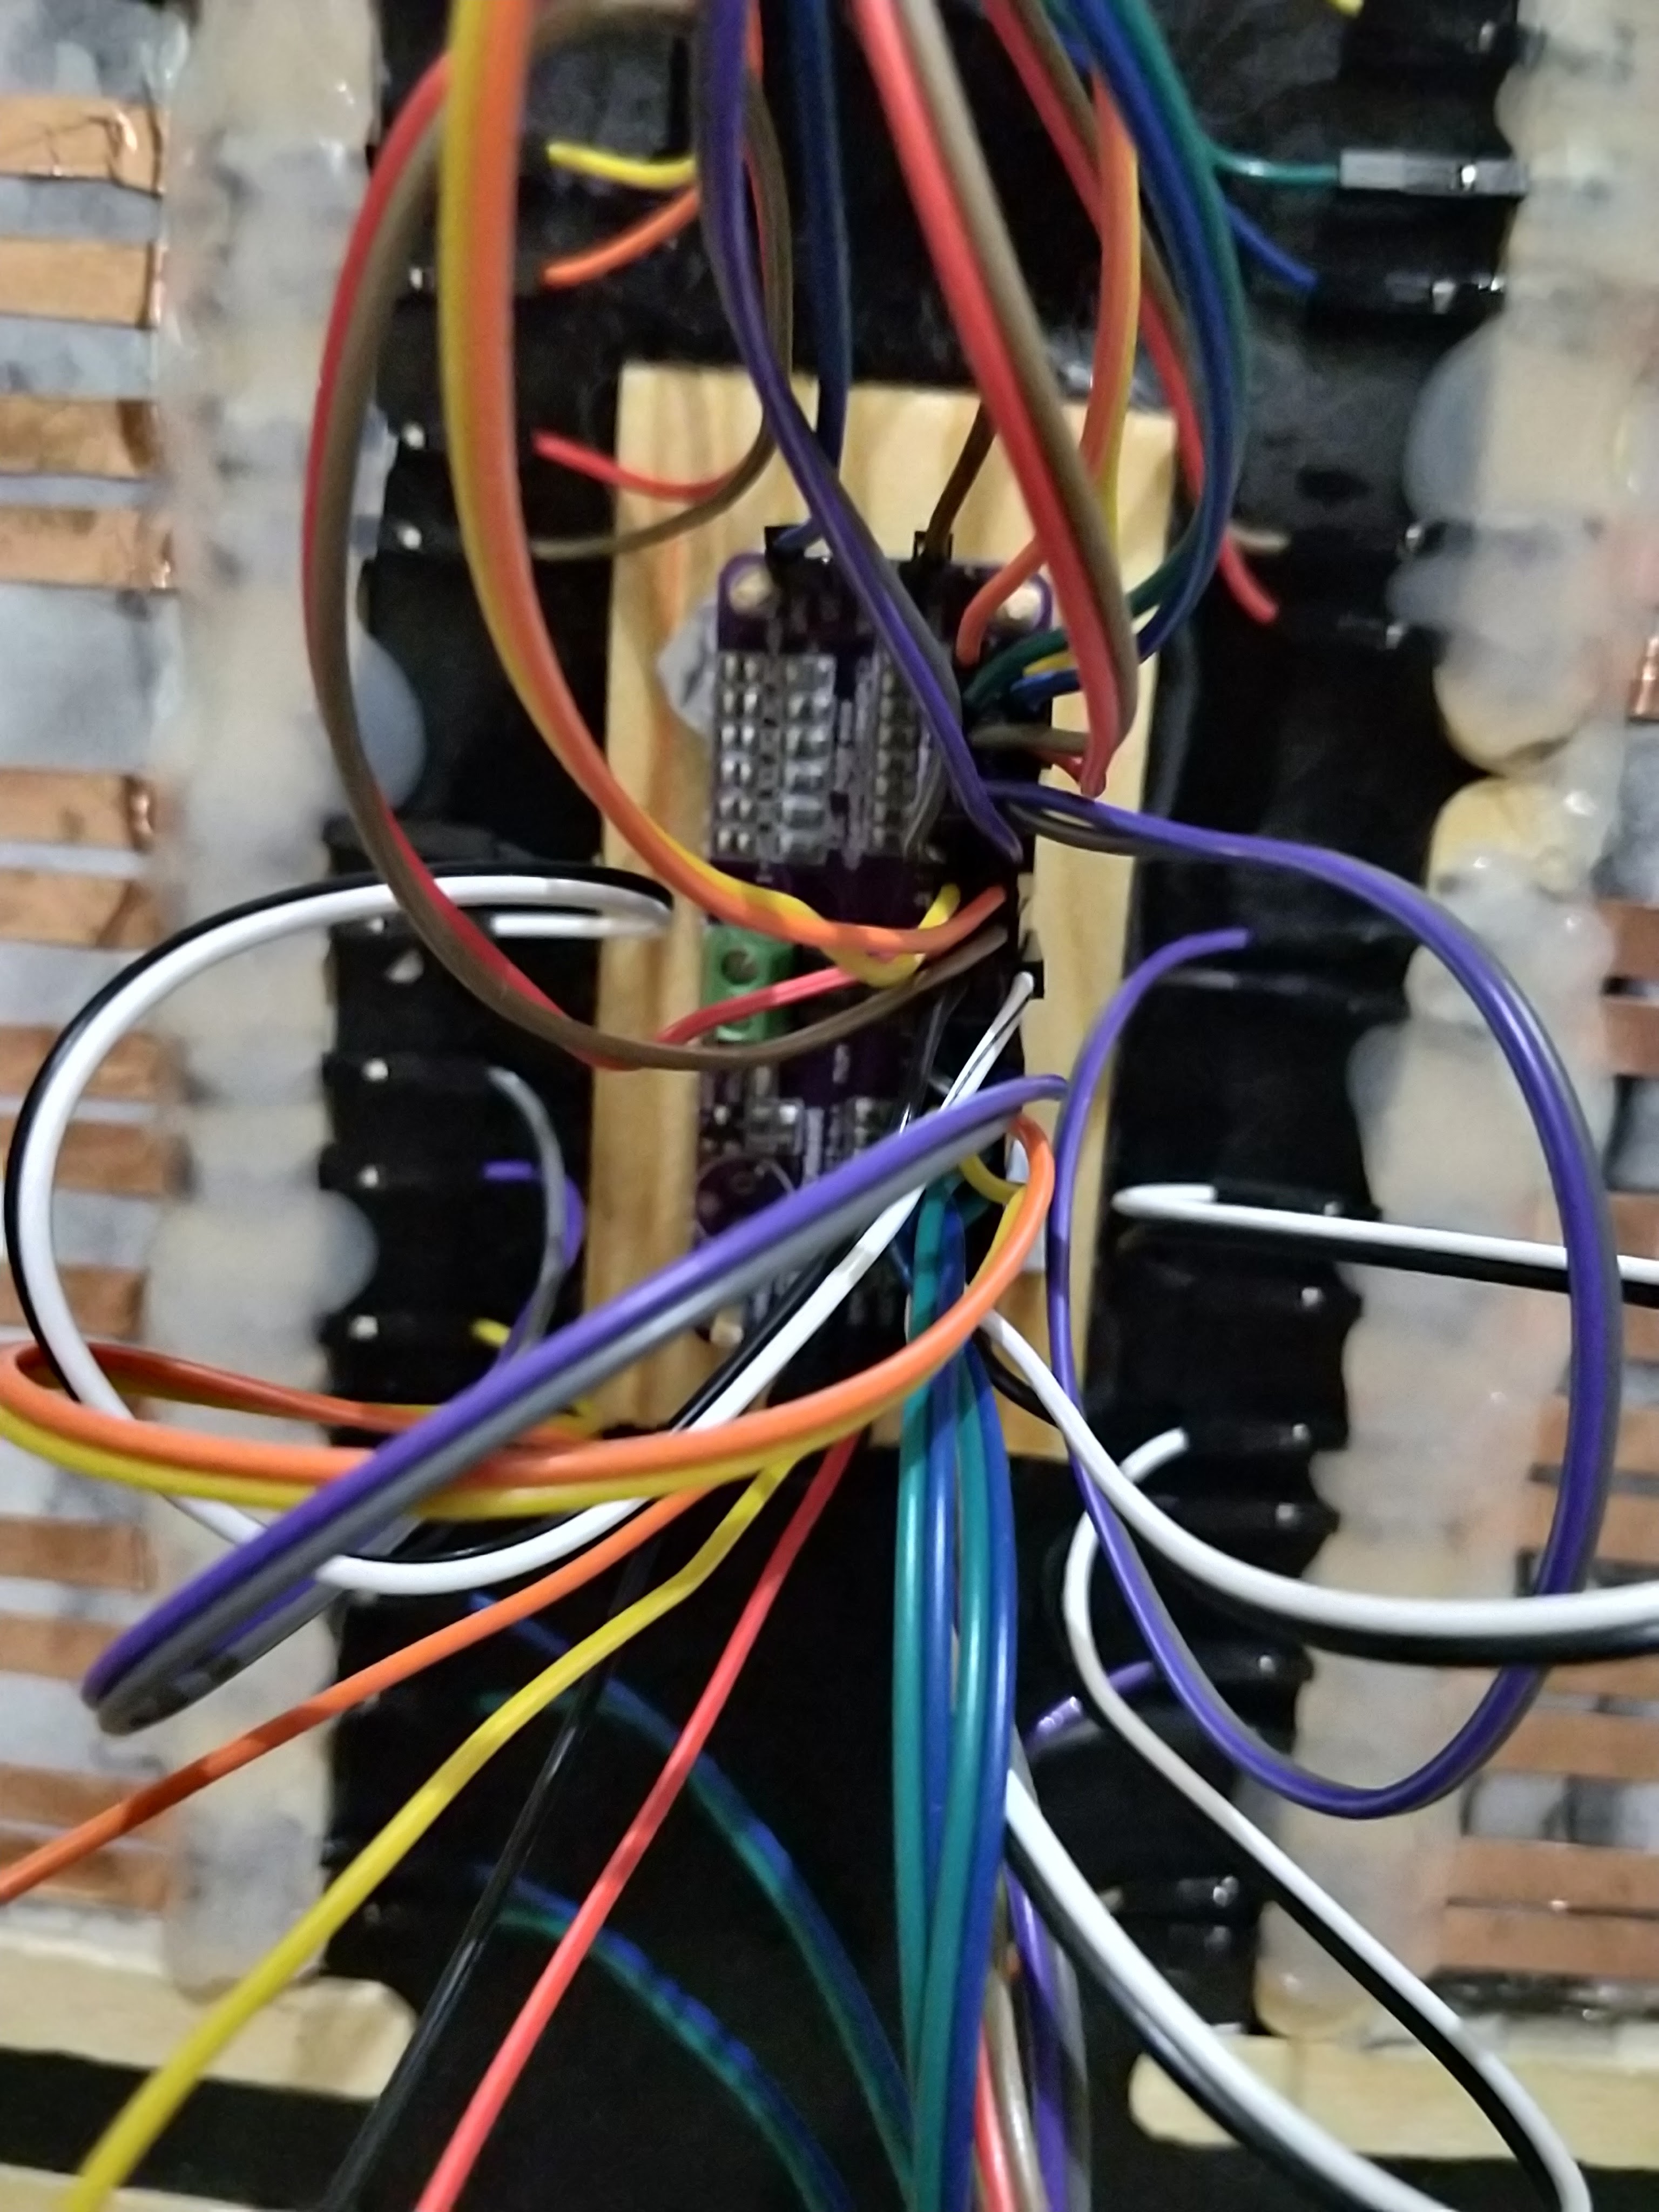
Now I wanted to make this circuit last. Those yellow wires will break over time because of stress. So I started working on my own PCB design. Unfortunately, I don’t have the materials I need to etch my own PCB. While searching for nearby PCB fab services, I also looked for other alternatives and I found that there’s a breakout board available which allows you to drive 16 separate PWM signals. It uses the PCA9685 PWM controller. This was a far better option than a simple demultiplexer. It made the code much simpler and allowed better control of each LED’s brightness. I forgot to take a picture of the breakout board. If you’d like to purchase one and if you’re from India, click here to see where I got mine.
The most laborious part was getting the “stars” on the night sky, i.e., the black chart paper. Circuit scribe would have made things very simple but it didn’t seem worth the cost. So I used copper tape instead. During the process I learned that black chart paper conducts (although very poorly; wet Fevicol conducts as well!), which is why you see the copper tape over the white sheets. I used a lot of ice-cream sticks to protect the edges from tearing and to prevent the chart paper from folding under the wires’ stress. The wires are male to female jumpers which you would use on a breadboard.


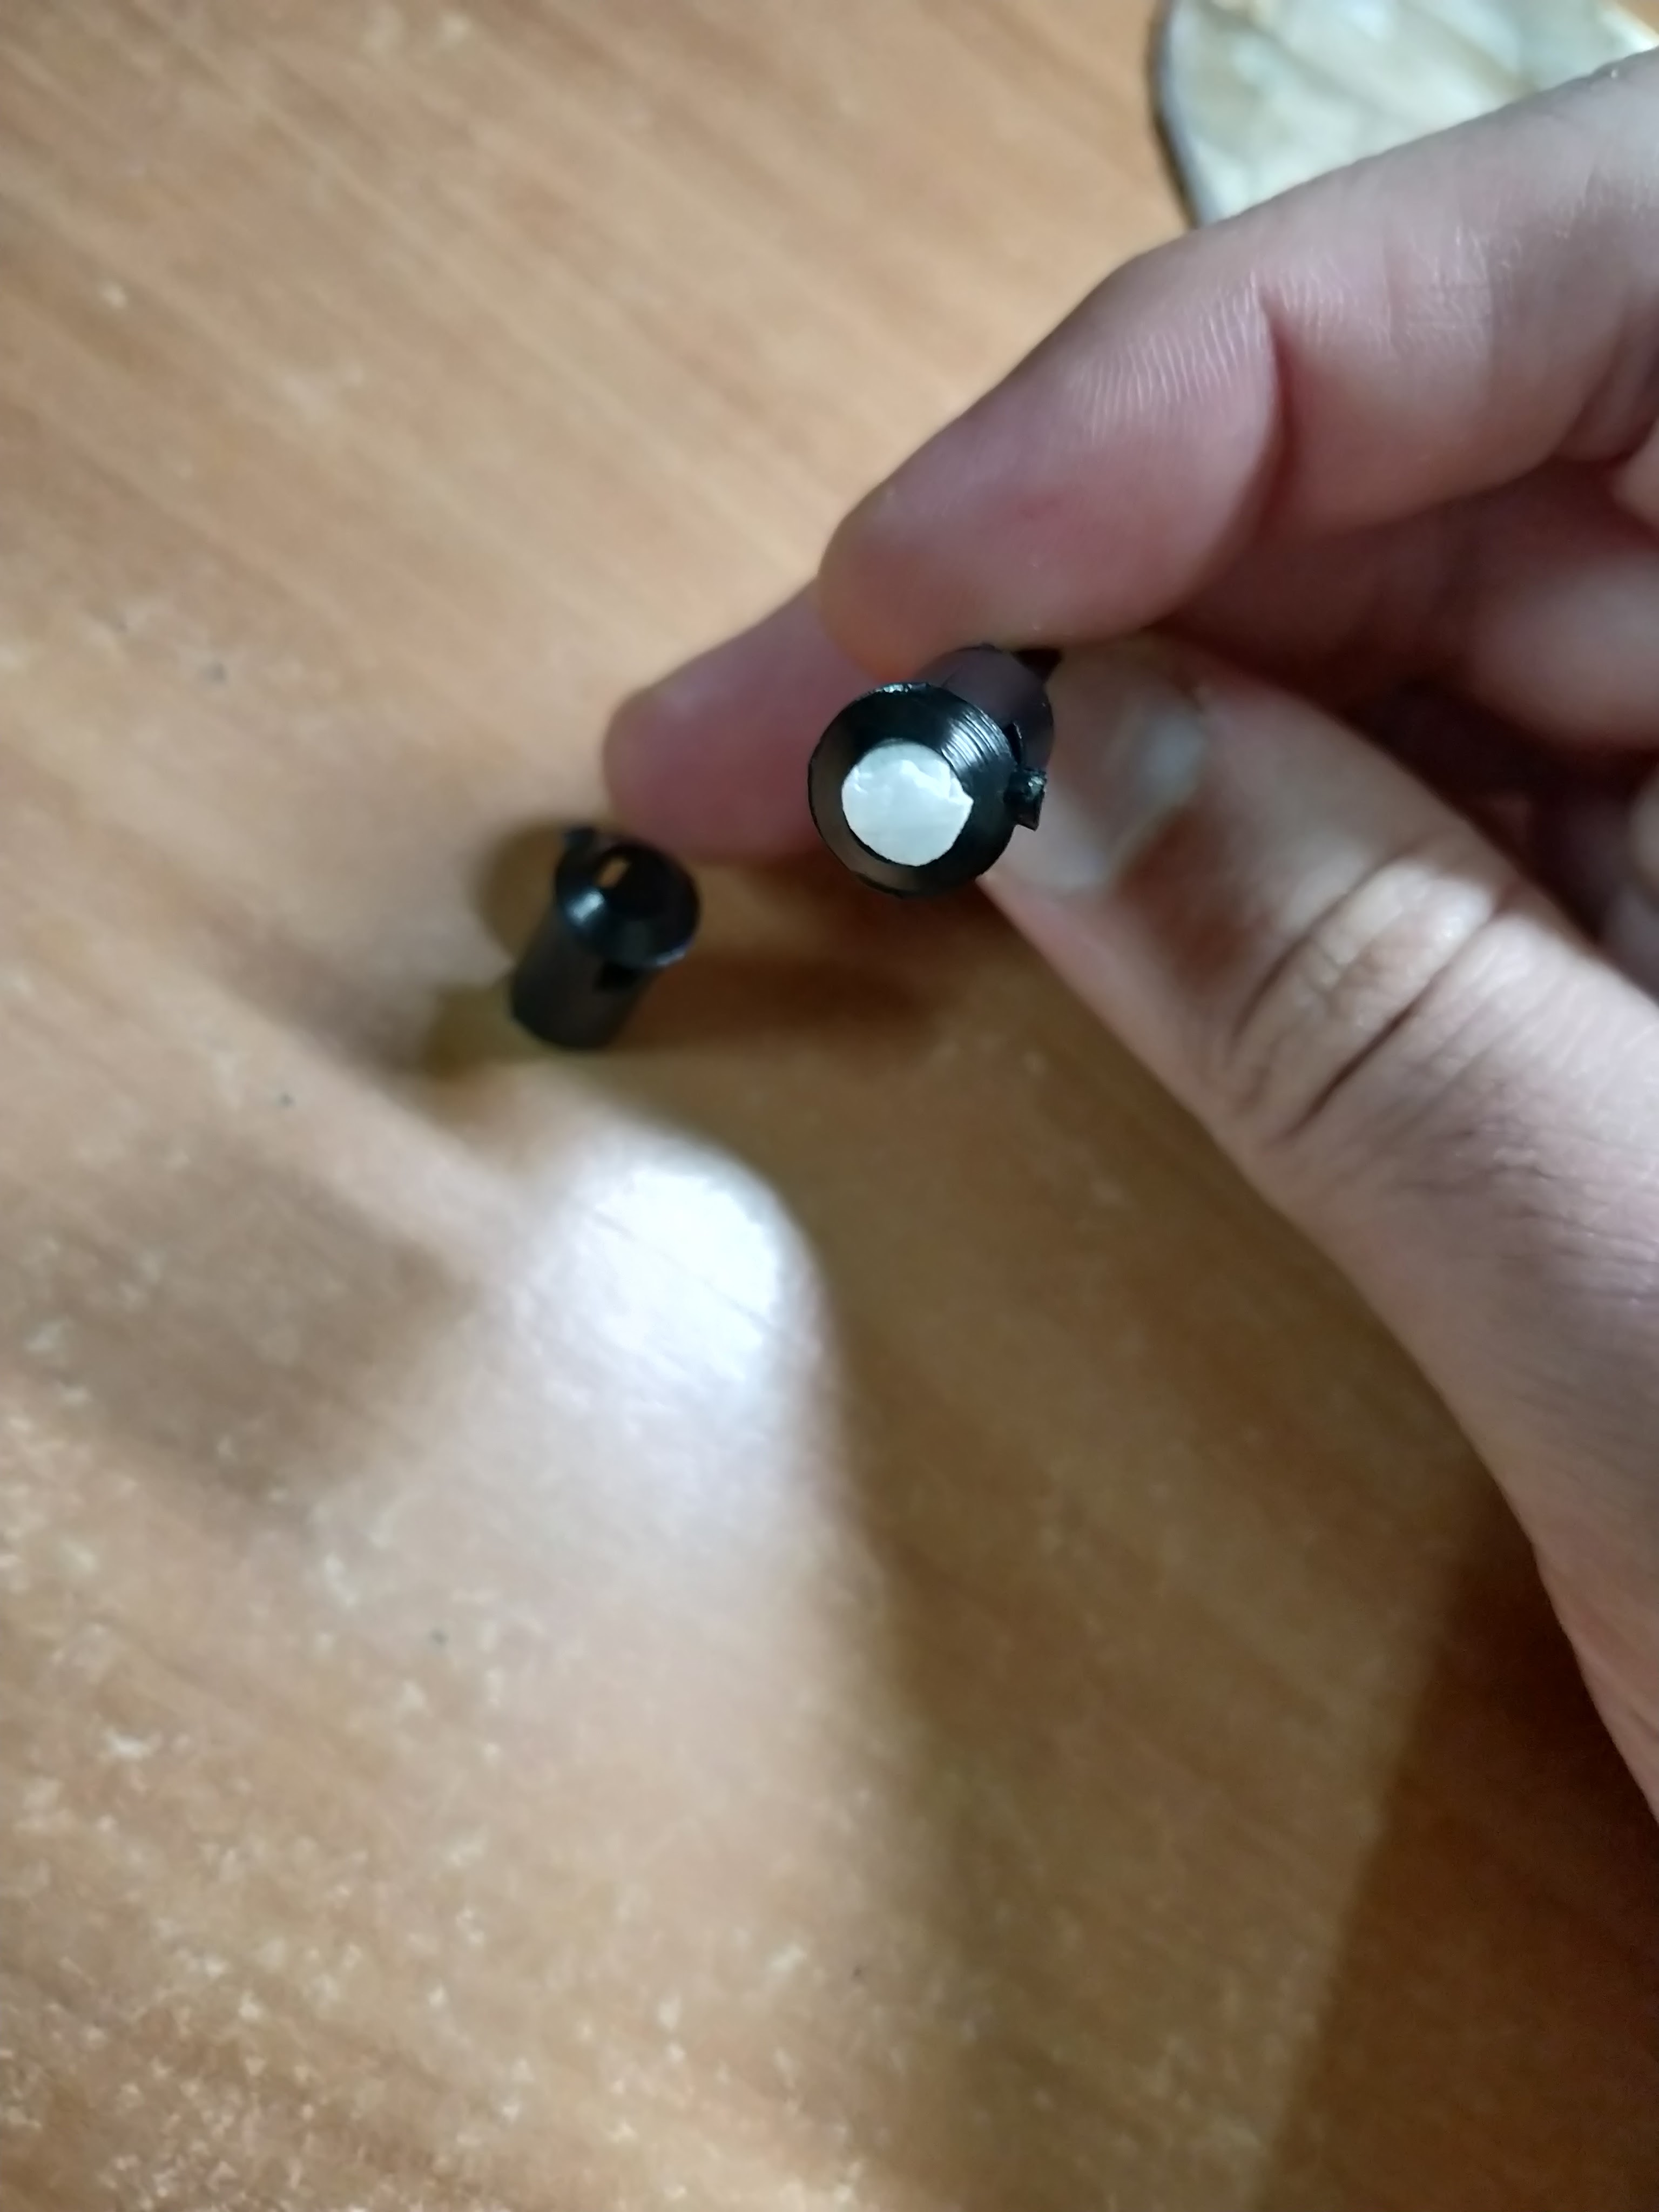
I fixed the LEDs to the chart paper using the LED holders you see below. LEDs give a very directed beam that can irritate the eyes. So I used one layer from toilet paper to act as a light diffuser. Be careful when you try putting the paper in. It’s delicate and can tear if you’re not careful. The holders themselves were stuck to the chart paper using hot glue.

The code is available here on my GitHub repository. I used the example code on arduinolearning.com to get started but my code is very different from what you see here. That’s it for the “tutorial.” It’s not much of a tutorial because the circuit is fairly simple in principle. It’s just a bit laborious to build. The one thing I didn’t mention is that large star. The light is made with an LED connected to 5V with a 220Ω resistor in series. The star which you see is from our Christmas tree and was stuck to the chart paper using hot glue.
Here’s a video of all the lights together. My phone doesn’t appear to get the twinkling correctly from far away. Since it is subtle, you’ll need to see it for yourself (i.e., make this project yourself! :-)).
And finally here’s a video of the crib with all the lights on. I’m not sure if you’ll be able to see the stars twinkling here unless you look very closely. But then again, it’s supposed to be subtle. It’s less subtle if you see it in person.
Thanks to my wife Johanna for getting me into Christmas crib making and for her help with this project. The crib’s base, fences, house, etc is what we built last year. Next year, the plan is to add a running waterfall. If that works out, I’ll add a post here.
Hope to see some of you build this or something even better. May you have a Blessed Christmas! 🙂


Recent Comments